Axis & Allies .org Forums
    • Home
    • Categories
    • Recent
    • Popular
    • Users
    • Register
    • Login
    1. Home
    2. DMcLaren
    3. Posts
    0%
    D
    • Profile
    • Following 0
    • Followers 1
    • Topics 2
    • Posts 234
    • Best 76
    • Controversial 0
    • Groups 4

    Posts made by DMcLaren

    • RE: Custom carriers from OOB's and painted pieces

      Hard to say, really, LHoffman, since there are many being worked on at the same time in various stages of preparation or finish. Consider: Most of the little silver dots on the decks to represent deck guns are built up layers of pigment, so the flat surface of the sculpt is broken up with little bumps.  On average, 7-10 applications of pigment make a deck gun bump, and each layer has to dry before the next one is applied.  FJO has a series of pictures of the making of the Mogami cruisers, so I’ll have to get hold of those to post.  Those 4 took a few weeks, but they weren’t worked on every day.  And they had to wait for the Pearl Harbor versions of the Zuikaku and Shokaku to get finished.  Those, I know, took a long time.  The towers have been replaced, the hull was cut away under the fore and aft flight decks, both have hand drawn & painted hull illustrations port & starboard accurate to the schematics, the decks are hand painted (not decals), putty has been added to each side of the flight deck and then sculpted away to make more deck AA guns and place them accurately according to the schematic.  Like I said, those took a long time.  Over the coarse of 2 months at least, while other things were going on, like the Kongos getting base colors.  FO called as I was typing this, so I asked about average time per ship.  The answer, after some consideration of research, amount of modification, and detail, was 8-15 hours per ship, at about 5-10 hours per week.  Given what’s been done and what I know of the time so far, I’d say if we had the real number of ships and time and did the math, it wouldn’t work out to the estimate.  Either less hours per ship or more hours per week, I’d say.

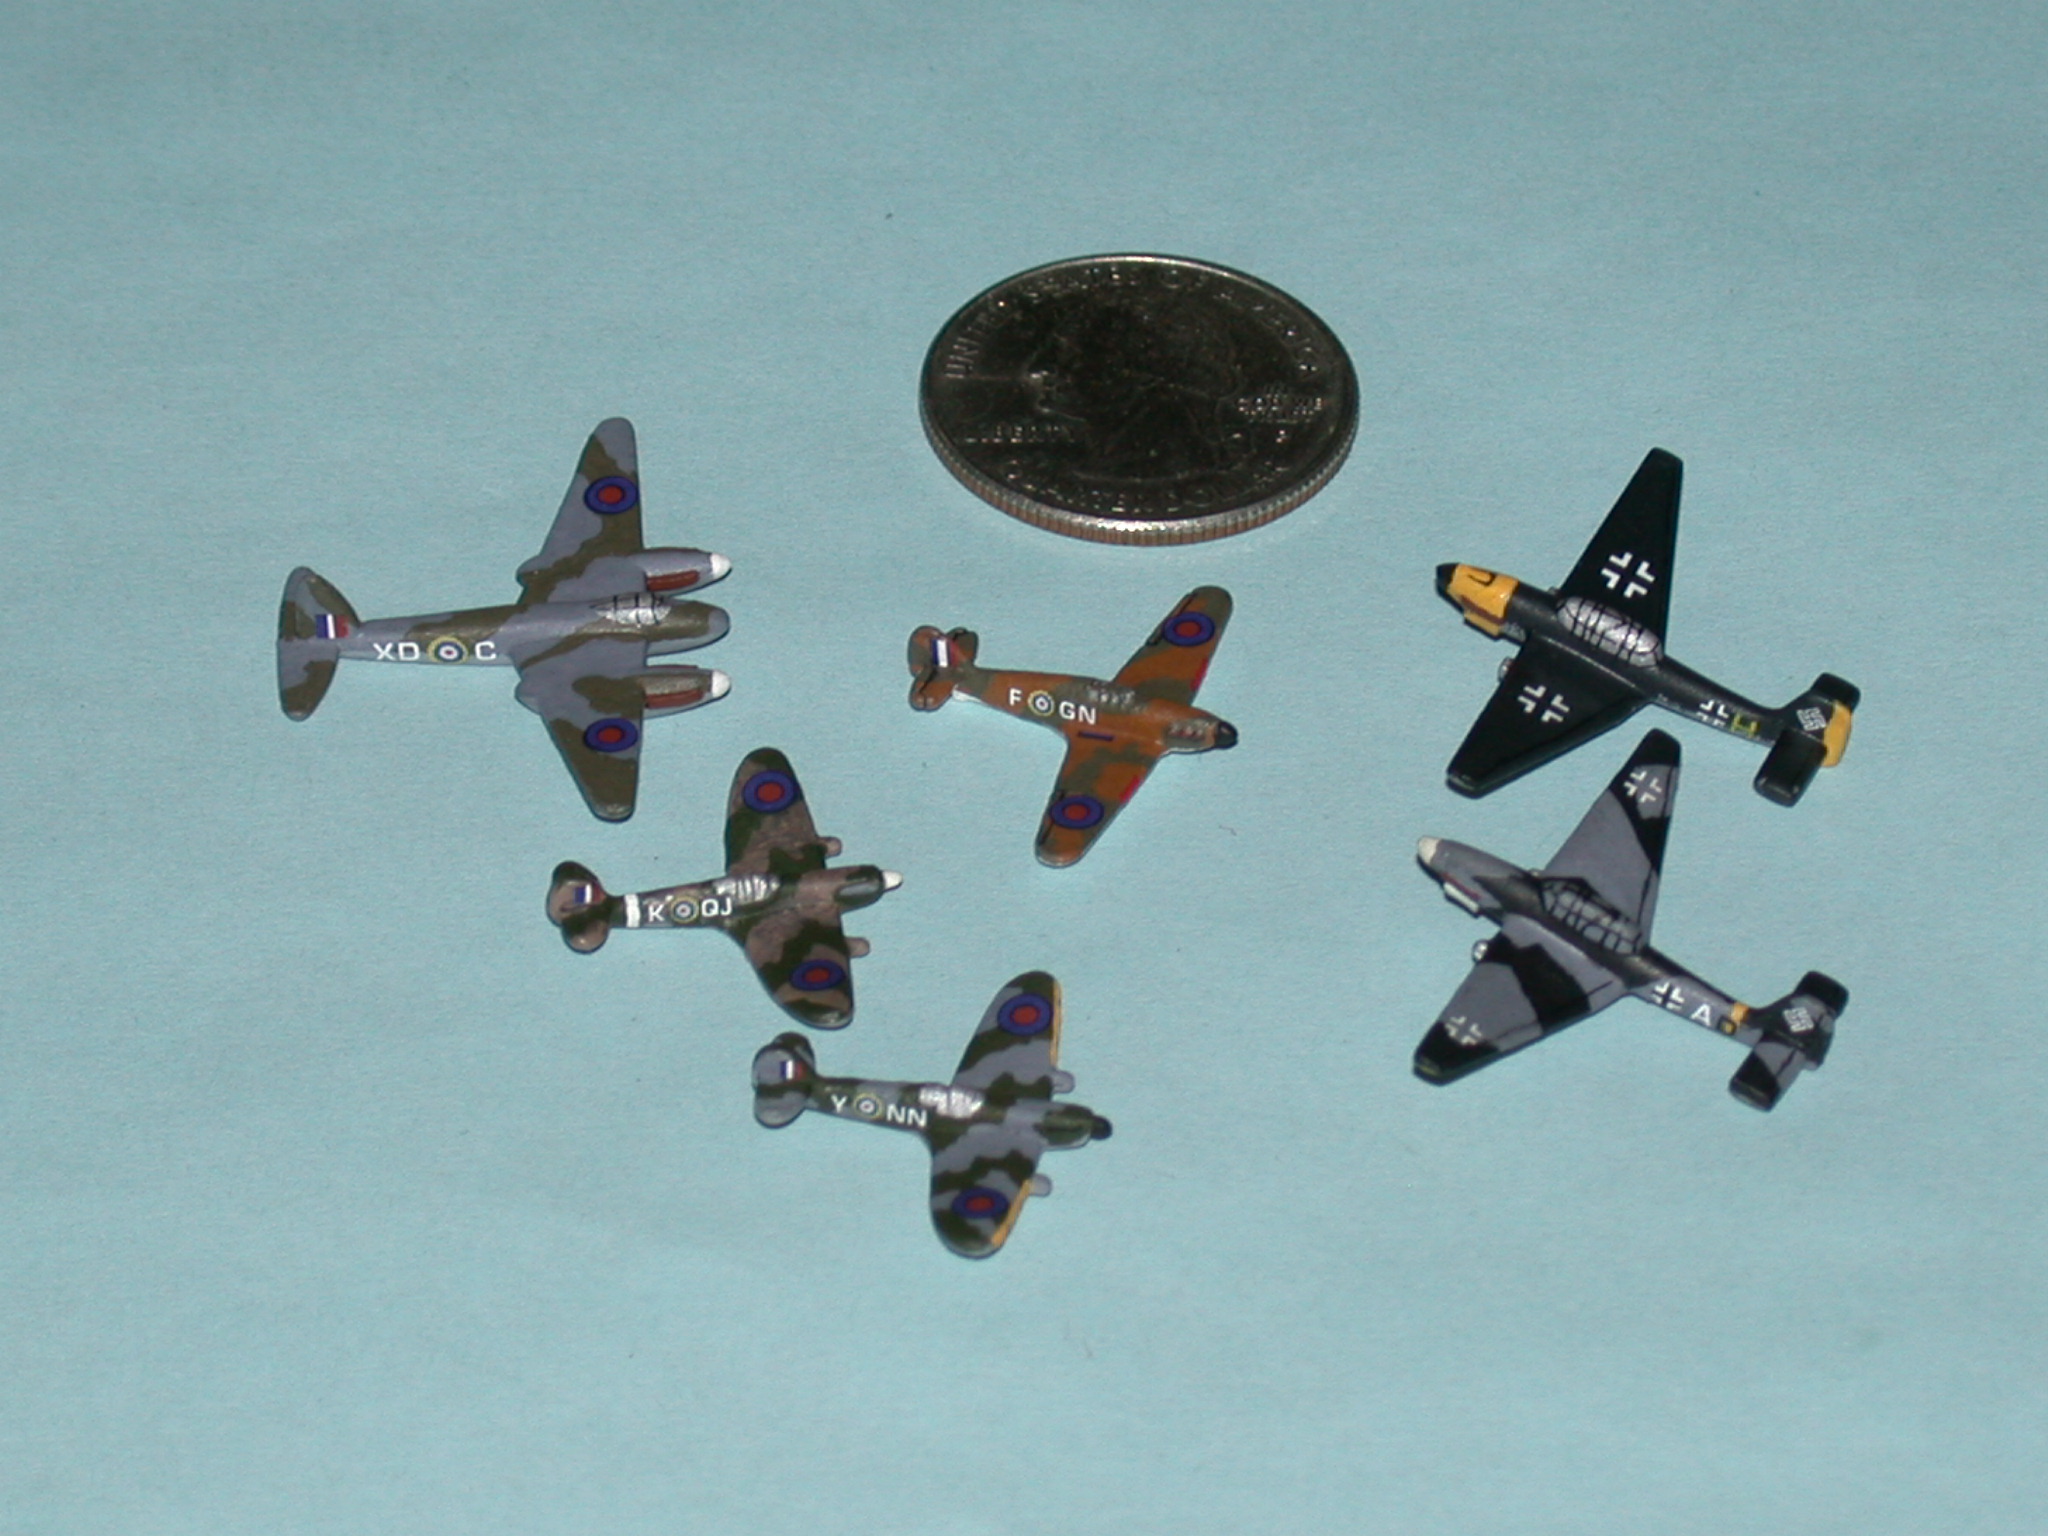
      And thanks, I think, for the compliment, Nowhere Man.  Remember, ours is a 2 man project.  I only get to spend an hour or three during the weekdays painting, and maybe a half-day on the weekend.  So 5-10 hours per week for me.  I’m doing the aircraft (mostly so we can play “Check Your 6!” with the lego flight stands I made) and FJO is doing ships (so we can use them for table top “Victory at Sea” also).

      posted in Customizations
      D
      DMcLaren
    • RE: Custom carriers from OOB's and painted pieces

      The IJN Kongo class battleships.  They have a launch catapult molded in, so of course they got planes.  We just got a mixed set of 2 Nagato battleships and 3 Fuso battleships from HBG (yes, they’ll split their sets of 5 for you) and will be using the Fusos for heavy cruisers. The Nagatos will be added to the BB set. And here’s a better picture of the Yamato, showing some wear as the red primer pokes through. You may have noticed some ships camo’d with an orange and yellow curved stripe- those are from a camo fleet, the pattern found called “Fleet of Fog”.  Google it to see what these ships were based on.

      IJN Kongo Class BB.jpg
      IJN Yamato.jpg

      posted in Customizations
      D
      DMcLaren
    • RE: Custom carriers from OOB's and painted pieces

      We have 3 cruiser types in our house rules- light cruisers, cruisers, and heavy cruisers.  These IJN Heavy Cruisers are 1st Ed. A&A Battleships that FJO painted as if they were Japanese warships, adding a lot of detail that’s not in the sculpt, both with paint and by adding left-over guns from the GHQ carrier.  There’s no historical basis for these ships and there wasn’t a schematic available to make the sculpt Japanese, so he just winged it.

      IJN A&A 1st Ed BB.jpg
      IJN A&A 1st Ed BB top.jpg

      posted in Customizations
      D
      DMcLaren
    • RE: Custom carriers from OOB's and painted pieces

      The IJN Takaos from earlier in the post got a face lift (top picture), and 4 unpainted ones were modded into Mogami class cruisers, with launch catapults and a recovery crane (bottom picture).  The Tone has 4 little aircraft on it (bottom picture).

      IJN Takao.jpg
      IJN Mogami.jpg

      posted in Customizations
      D
      DMcLaren
    • RE: Custom carriers from OOB's and painted pieces

      We really liked HBG’s Nagara light cruisers and bought 2 sets (3 are left to paint).  While researching paint schemes, we noticed the real ships have a plane on a launch catapult. So FJO made launch catapults for some Nagaras and bought a carrier from GHQ for the planes and antennae towers, and put planes on some of the launch catapults.  Little GHQ aircraft ended up going on a lot of other IJN ships, too.

      IJN Nagara Light Cruiser.jpg

      posted in Customizations
      D
      DMcLaren
    • RE: Custom carriers from OOB's and painted pieces

      The Pearl Harbor versions of the Zuikaku & Shokaku with their later war versions (from the first picture in the post on page 1).  That the Zuikaku camo version is an out of box Shinano really bothered FO, and that’s what started the whole “chop off this tower and swap that one in here, and maybe add a little putty here for more deck guns and cut away under the flight deck” ideas.  All of these started as Shinano sculpts (and the one still is).  The side view picture is the same ship on the left top & bottom, and right top & bottom.

      IJN Zuikaku Shokaku.jpg
      IJN Zuikaku Shokaku side.jpg

      posted in Customizations
      D
      DMcLaren
    • RE: Custom carriers from OOB's and painted pieces

      I finally got some pictures of some of our recent (and not so recent) finishes, and shots of some make-overs.  I’ll start with a set of Japanese Ki-57 transport planes from HBG and IJN Akitsuki DD’s from the '41 set.

      Japanese Ki-57 Topsy Transport Plane HBG.jpg
      IJN Akitsuki Class Destroyer.jpg

      posted in Customizations
      D
      DMcLaren
    • RE: Where to start?

      I cast my vote for starting with the aircraft as well.  Using a hobby drill, make a hole to take a magnet on both your carrier and the aircraft.  We’ve actually used the 1/16 x 1/32 magnets available from http://www.primalhorizon.com/products.php.  The magnets are their most popular product right now and the link takes you right to them.  Your local hobby store may have them, too.  Make sure you have the polarity right so the magnets work.

      posted in Customizations
      D
      DMcLaren
    • RE: Beginning to paint our set - and some questions

      Agreed on the decals, but SO worth it.  I have a Stuka with 18 decals on it and it’s one of my favorite pieces. Took longer to decal than it did to paint. Our Spitfires & Mosquitoes have 14 decals each. Microsol is great for setting your decals and giving them a painted on look.  Sometimes several applications are needed depending on the decal.  After decals, a few thin cotes of dullcote (https://www.amazon.com/Lusterless-Flat-Lacquer-Clear-Testors/dp/B004QPCLQG/ref=sr_1_fkmr1_4?ie=UTF8&qid=1518375285&sr=8-4-fkmr1&keywords=model+master+dullcote) are good for protecting everything.  Don’t put the dullcote on too thick or it clouds and you have to repaint (something I found to my horror when spraying in bad light and killed about 30 hours’ work between me and a friend).

      I prefer Testor’s and Model Master enamel because the paint is a little tougher when it dries.  But the most important thing (IMHO) is to get some of the smallest brushes you can get for detail.  Also helps get sharp lines on your pieces.

      posted in Customizations
      D
      DMcLaren
    • RE: What scale are the units ?

      A few shops make 500 scale at Shapeways.  I’ve gotten Hawker Hurricanes, Spitfires, and Bf-109’s in 500 scale from SNAFU store.  HBG’s planes match up great with A&A pieces, too, and some are even better, like their Stuka G’s.

      posted in Customizations
      D
      DMcLaren
    • RE: What scale are the units ?

      Aircraft, fighters at least, are 1/500 scale.  You’ll find 600 is just a tiny bit too small.  I actually compared the measurement of a game piece A&A Spitfire to the real thing and the math was something like 1/505, so within the margin.

      DD’s are 1/2400, and I believe CV’s and BB’s are 1/4800.

      posted in Customizations
      D
      DMcLaren
    • RE: Custom carriers from OOB's and painted pieces

      The decals are I-94 for the letters and roundels, Dom’s Decals for the fuselage roundels.  Can’t tell you how happy I was when I found the I-94 letters on HBG’s site.  I’ve been adding letters and other markings to what’s been painted so far aircraft-wise- fighters, tacticals, bombers, and even paratroop planes from HBG.  Some fighters and Stukas have 16-18 decals on them.  For instance, a Stuka has 2 letters, the German cross, followed by 2 more letters on the fuselage, so that’s 10 decals right there.  Add the tail and upper and lower wings and that’s 6-8 more, depending on which model Stuka.  It takes a LOT of patience to make sure the letters are lined up and even, but it’s worth the effort.

      Thanks, LHoffman.  My pal and gaming partner FJO is the ship master.  He puts insane amounts of time into each ship in an effort to make it look like a named ship in the IJN.  Not above taking a saw to a piece and adding some putty, as seen in previous pictures.  He even bought some of those 1/2400 aircraft from GHQ to put on HBG’s IJN Nagara light cruisers, the Kongo battleships, and Takao and Mogami cruisers (yes, he’s modded 4 Takao sculpts into Mogami cruisers, even putting 4 of those 2400 scale aircraft on the Tone, complete with launch catapults).  I’m overdue to get some pictures of the finished ships.

      posted in Customizations
      D
      DMcLaren
    • RE: Custom carriers from OOB's and painted pieces

      Thanks guys.  For the cockpit canopies I use a .005 pen.  Paint the canopy & coat it with clear flat lacquer over the silver so the pen takes, then after the ink dries give the canopy another shot of clear dullcote.  Don’t use a brush to coat the ink with clear- it will smear the dried ink.  Use the spray dullcote.  The grey canopy Stuka was the first test cockpit but the rest are silver.  Flap lines are drawn in on the Stukas with the .005, but the Shapeways Hurricane has them molded in, so those lines are dark washed before the plane is painted.  I got the 1/500 Hurricanes from SNAFU (https://www.shapeways.com/product/TFK4LDQWH/1-500-hurricane-w-gear-x4-fud?optionId=63261413&li=marketplace). If you get them you have to be careful or the landing gear breaks off because they’re so small.  The one pictured was the first one I removed from the “tree”, and one snapped off with a little pressure.  I super glue coated the others to strengthen them, and that worked really well.  We’re using the planes for “Check Your 6!” also.

      posted in Customizations
      D
      DMcLaren
    • RE: Custom carriers from OOB's and painted pieces

      While FJO is finishing up some radical mods on the Takao sculpts to make some Mogami cruisers, I’ve been adding squadron letters and cockpit canopy details to some aircraft.  I’ve got to get a pic of the Mogamis, but here are some aircraft with letters from I-94.  The Hurricane is a 1/500 print from Shapeways with the landing gear removed.  Merry Christmas everyone!

      DSCN1516.JPG

      posted in Customizations
      D
      DMcLaren
    • RE: FastHeinz G40 Painted Pieces

      Nice work!

      posted in Customizations
      D
      DMcLaren
    • RE: I really need advice from experienced painters.

      What do you mean by “flaky”?  Can you post a picture?

      posted in Customizations
      D
      DMcLaren
    • RE: Solution for tracking remaining air unit movement after combat

      I don’t recall which version of A&A they came with, but one of them came with little black roundels with a picture of a fighter and numbers 1-6 that are used for remaining movement.  Our group uses them for damage markers though.  When we’re making our combat moves we say where each plane will land so we all know ahead of time where they’ll end up if they survive.

      posted in Customizations
      D
      DMcLaren
    • RE: Bgugs painted units

      Love the variety!  Great colors on the artillery-matched the picture really well.  Keep up the good work!

      posted in Customizations
      D
      DMcLaren
    • RE: Need Ideas for New Decals

      @R:

      Markings like these?  In the sizes we would use for Axis & Allies Aircraft.  Don’s has markings however they are too big for alot of A&A aircraft.  Of course these are just examples.  Obviously would need some Hi-Res graphics

      Yes!

      posted in Customizations
      D
      DMcLaren
    • RE: TIPs: For people getting into decaling.

      Some good tips!  I’d like to share some of my own as well.  I don’t use the decal prep fluid but I do use Microsol after application.  It’s best to put your piece on a chunk of clay to hold it secure so you have both hands free and the piece doesn’t move while you’re applying the decal.  After cutting the decal from the sheet, I use plastic tweezers from a medical kit to hold it in the water, and let a good drop of water on the piece under the decal so it stays wet until I get it in place perfectly using a toothpick to maneuver it around.  After it’s in place, I use a moist 000 brush to remove excess water slowly by dabbing the water bubble at the edge and touching the brush tip to a paper towel, then going back to soak more water if needed.  If the decal moves, put it back in place with the toothpick, and if you took more water than you should have and the decal won’t move, just add more water to the decal edge with the 000 brush to free it.  I’m OCD with the Dom’s decals I use on the fuselages of the UK aircraft- they have tiny reddish lines in the yellow of the circle and I MUST have them level with the fuselage or it just doesn’t look right, and the wing roundels’ lines have to line up with each other as well, so I’ve had a lot of practice.  If you look close at the pictures I’ve posted, you’ll notice all the decal lines match up. Let the decal dry completely before touching a little Microsol to it.

      For aircraft, put the aircraft wing into a piece of clay so the side is facing up.  That allows you to do fuselage and anything on the rudder much easier.  Wings are last, because you don’t want your wing decal messed up by sticking it in the clay.

      For ships, put the base of the hull in the clay to decal the deck, or the side to do the hull.  Makes application SO much easier.

      posted in Customizations
      D
      DMcLaren
    • 1
    • 2
    • 6
    • 7
    • 8
    • 9
    • 10
    • 11
    • 12
    • 8 / 12