


Hey All,
I’ve got some custom resin 4-figure and single figure .stl files available on wargame3d here:
Just search Ritterkrieg or click on the link above.
Much like a lot of others, this site has inspired me to create my own table. I have zero woodworking skills so I knew this would be a challenge. I’m going to go through the step-by-step of what I did if anyone is interested in doing the same thing. I will however, need someone to post the pictures for me as I can not do that yet.
My first step was to go online and find a printing retailer. I used the file that Young Grasshopper sent me (he is using the same one I believe) and it ran me about $30 with shipping to have it printed on piece of vinyl. I then went online and found some containers at, imagine this thecontainerstore.com that I wanted to use for holding the units etc… I wanted to have both of these items in my possession before I got started so that I could base my measurements around them.
Once those things arrived in the mail it was off to the hardware store to pick up some wood. I got 2 - 4x8 sheets of plywood. One sheet was 1/4inch thick, the other was 3/4. I also picked up about 8 2x4’s
I cut the 1/4 thick piece to the exact size of my game board. I then centered it on the 3/4 piece, glued and nailed it down. The idea of this was to give me sort of a “lip” when I enclosed the game board itself. it also helped me frame the table without having to worry about fitment of the board.
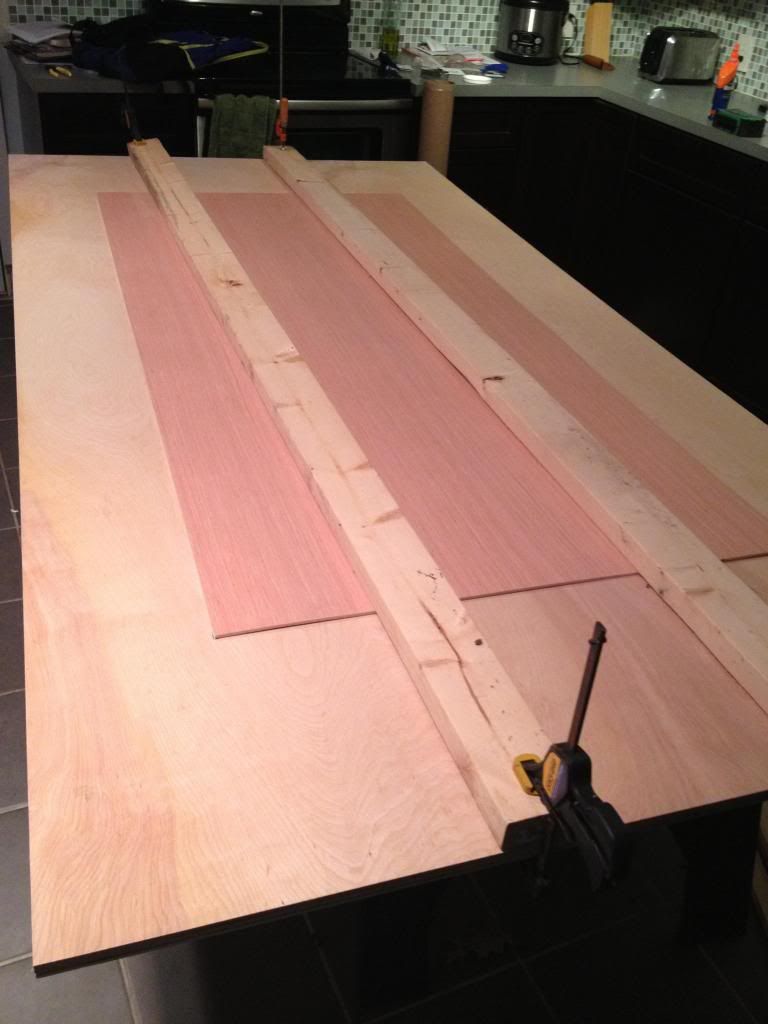
Next I took the 2x4’s to a friends house and had him “rip” them down to 1x2 pieces. I found out the hard way that if you buy a 1x2 piece of wood from the store, that it’s actually NOT 1x2… I guess I didn’t get the memo. I now had my wood that I was going to use to frame out the board and put my separators in between the different compartments.
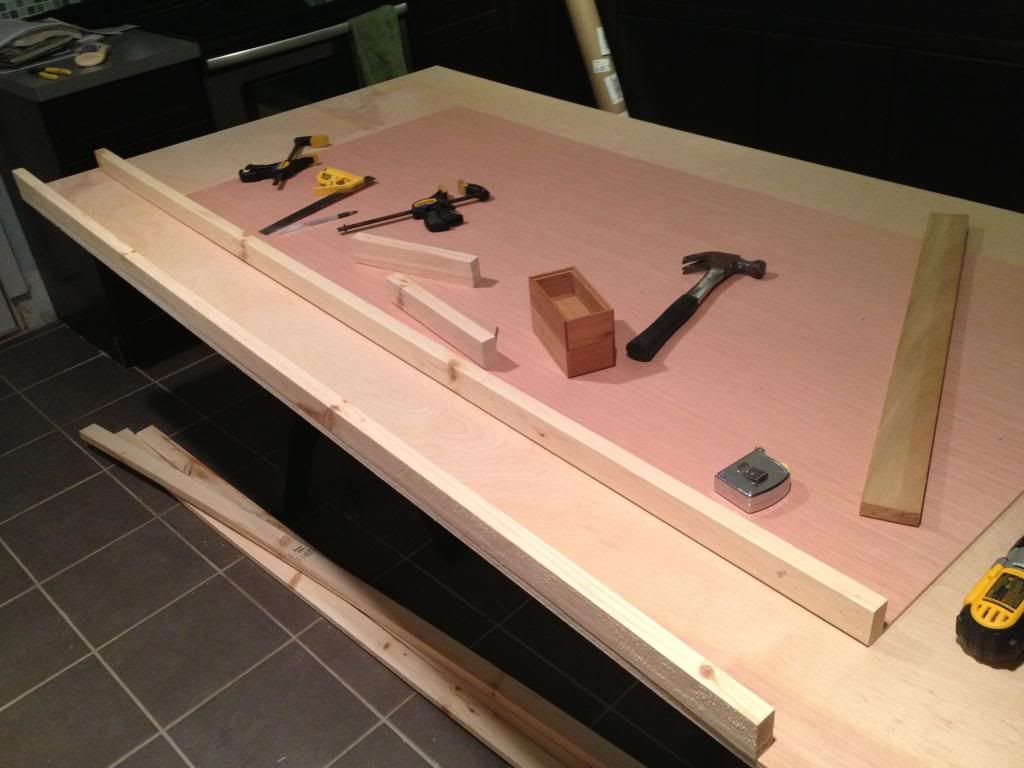
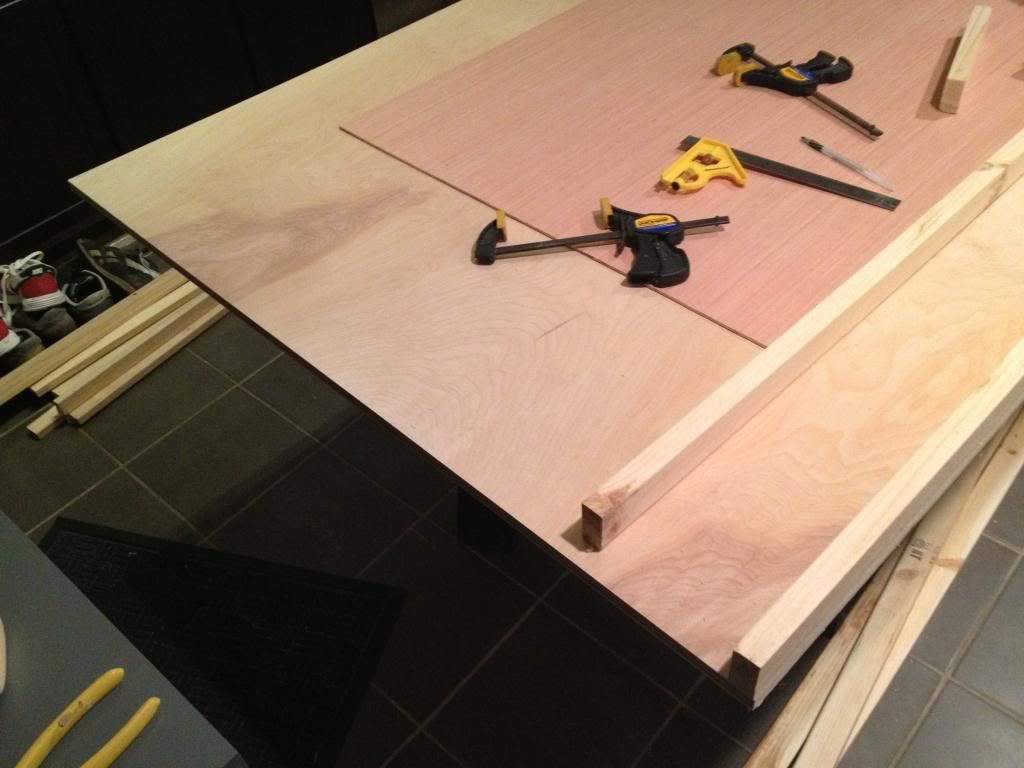
Since I already had the 1/4 piece of plywood centered and mounted at the center of the 4x8 sheet, it was easy to frame the whole table out. I laid the 1x2’s on their side (meaning that I had a 2 inch tall “wall” going around the whole table) glued them down, and screwed them in from underneath . This left me with a bunch of room on the ends, I ended up using that as my dice rolling area.
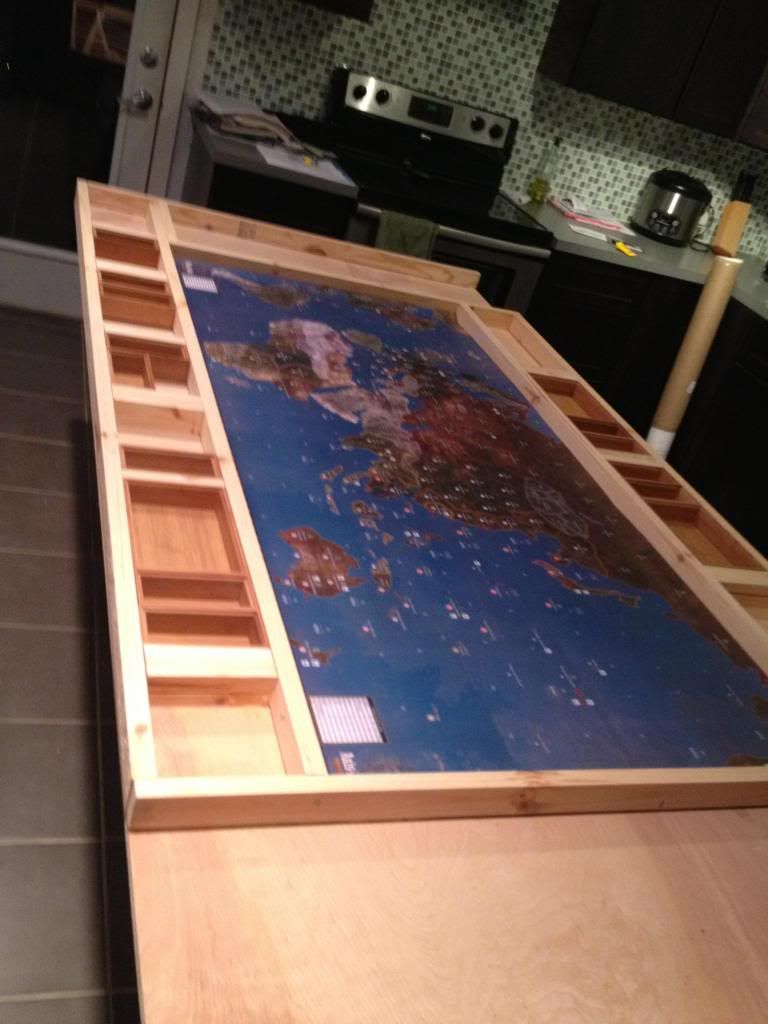
Once it was all framed out, I sanded down all the wood then I stained EVERYTHING. I actually tried to use a stain color that was close to the color of the compartments I bought but that was a complete fail - It’s WAY darker. Oh well, at least it still looked OK :roll: you can even see the difference in color between the boxes I got and the color of the table.
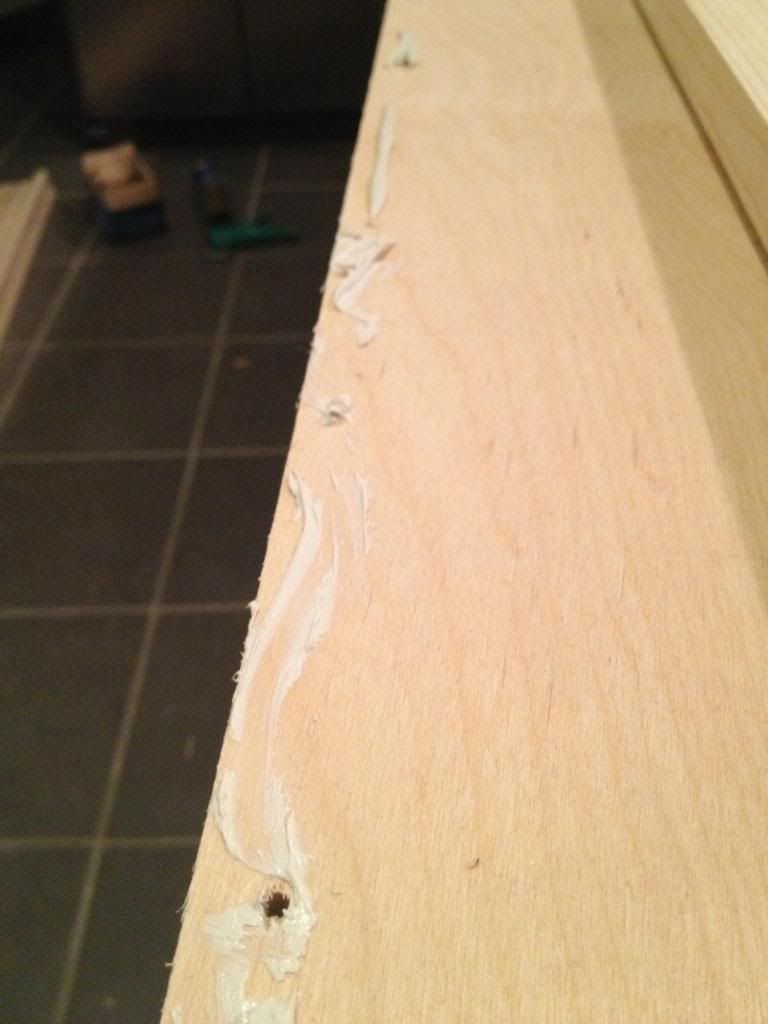
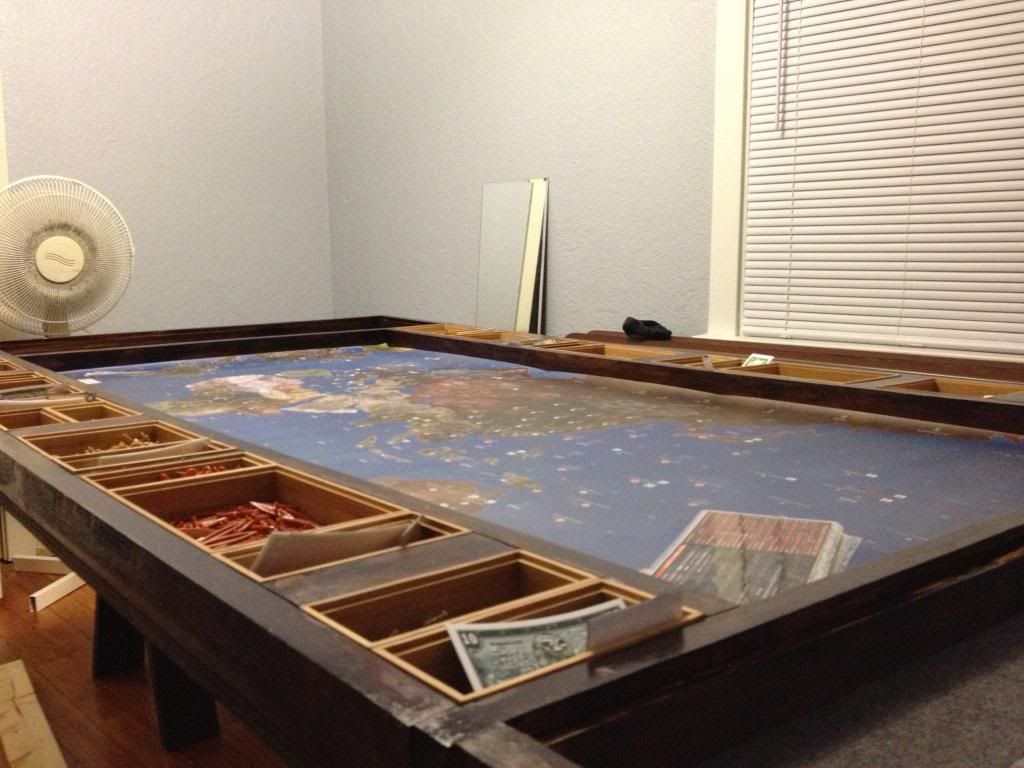
On the sides I glued some felt that I got from the craft store directly to the base. I then added a kind of rim around them using some smaller pieces of wood to hide the cutting imperfections. You can see the spot here, before I put the felt down:
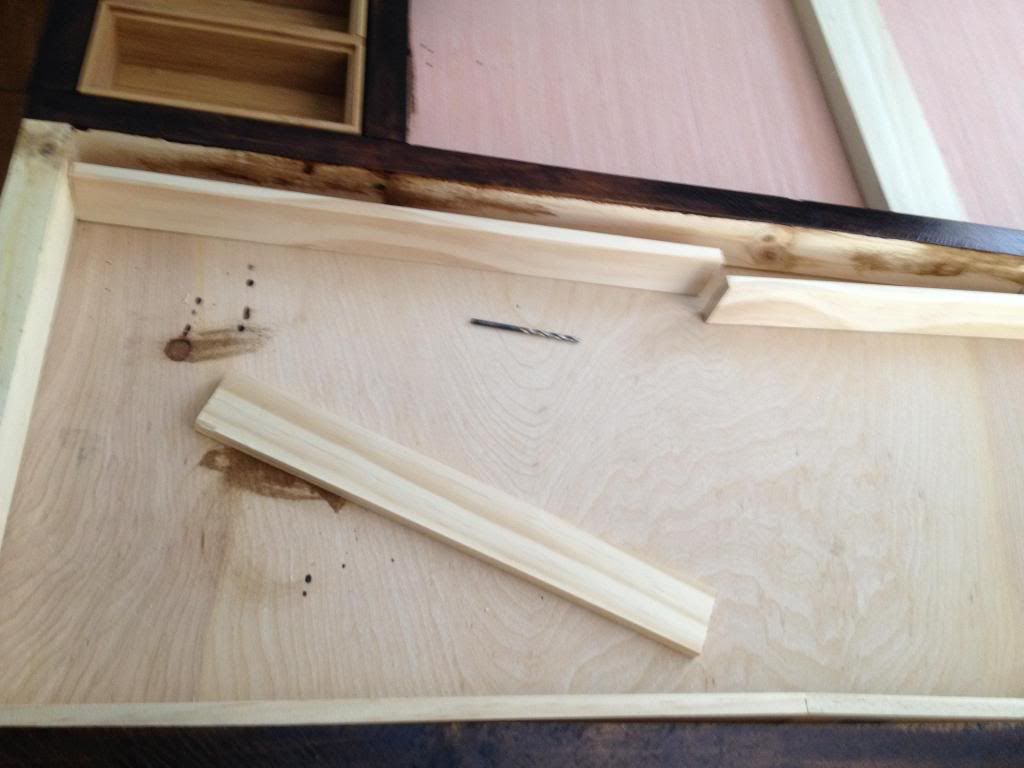
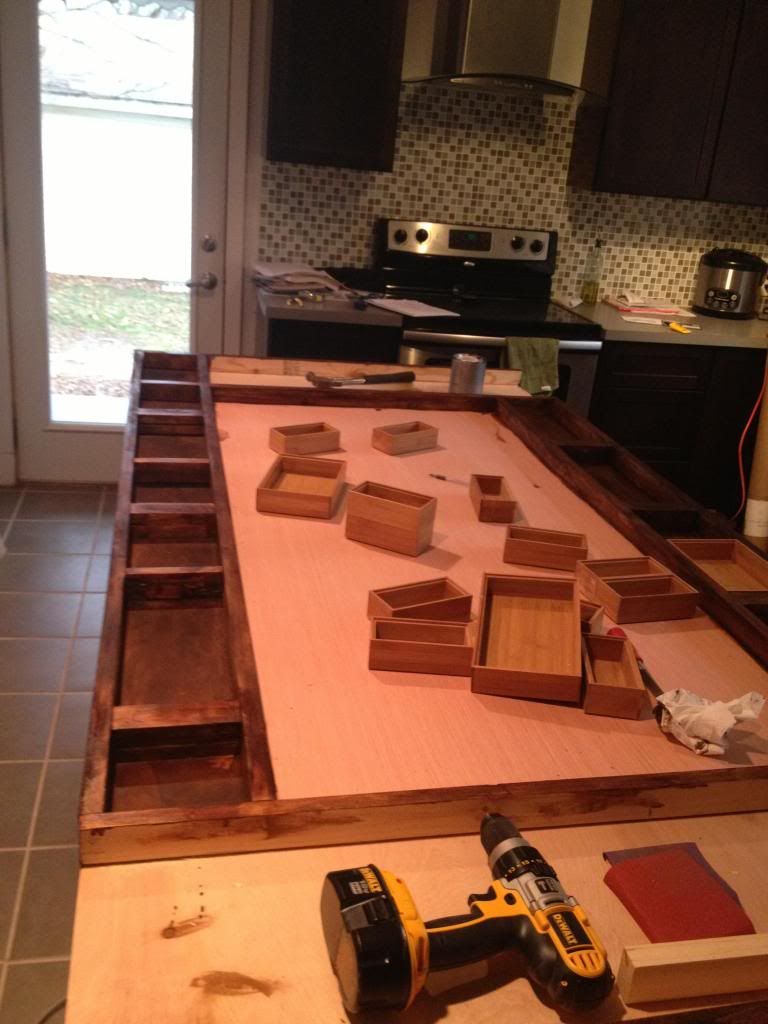
All that was left to do now was glue the print out of the board down. (in the pictures the board seems to come and go randomly, that’s just because I couldn’t help but mock it up in place while I was building)
I added all my pieces to the compartments, put the compartments in their respective places and then BOOM I was done! I had laid out where I was going to put them specifically ahead of time based on where that country is on the board, and how big of a power they are(how many game pieces they actually had).
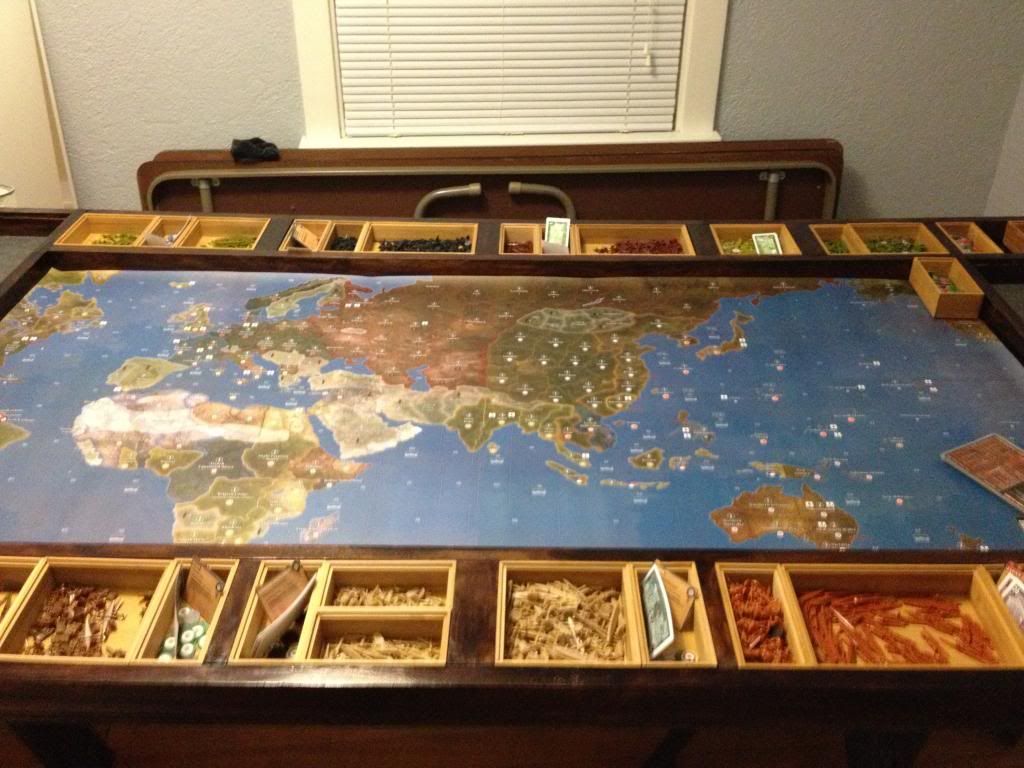
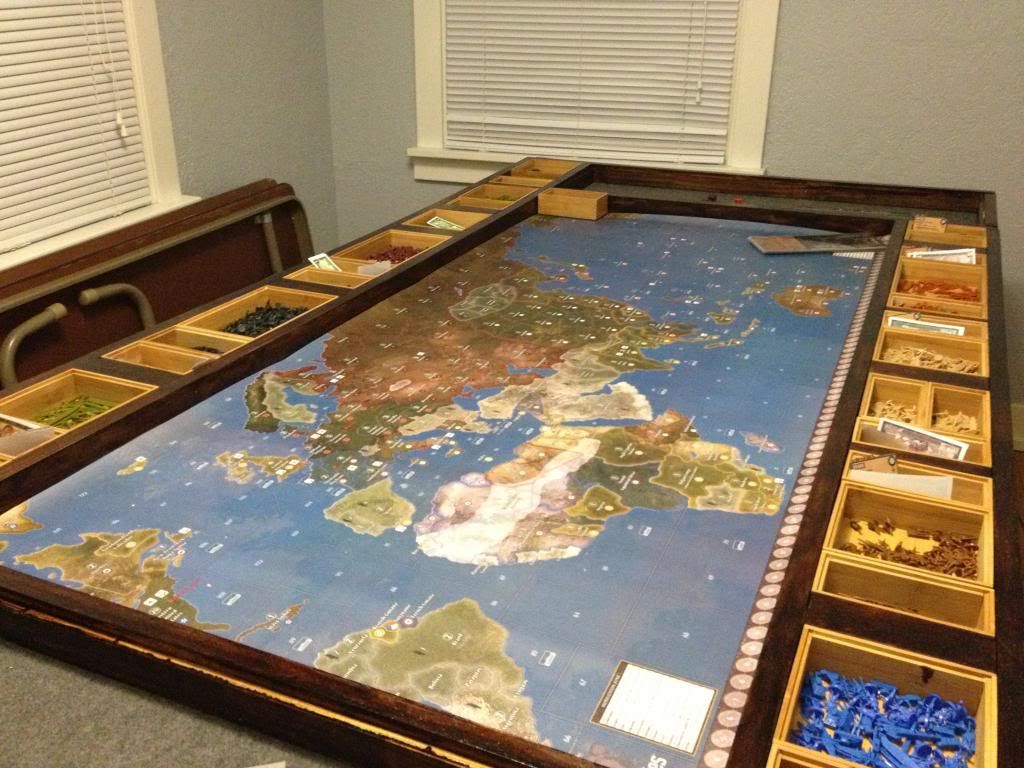
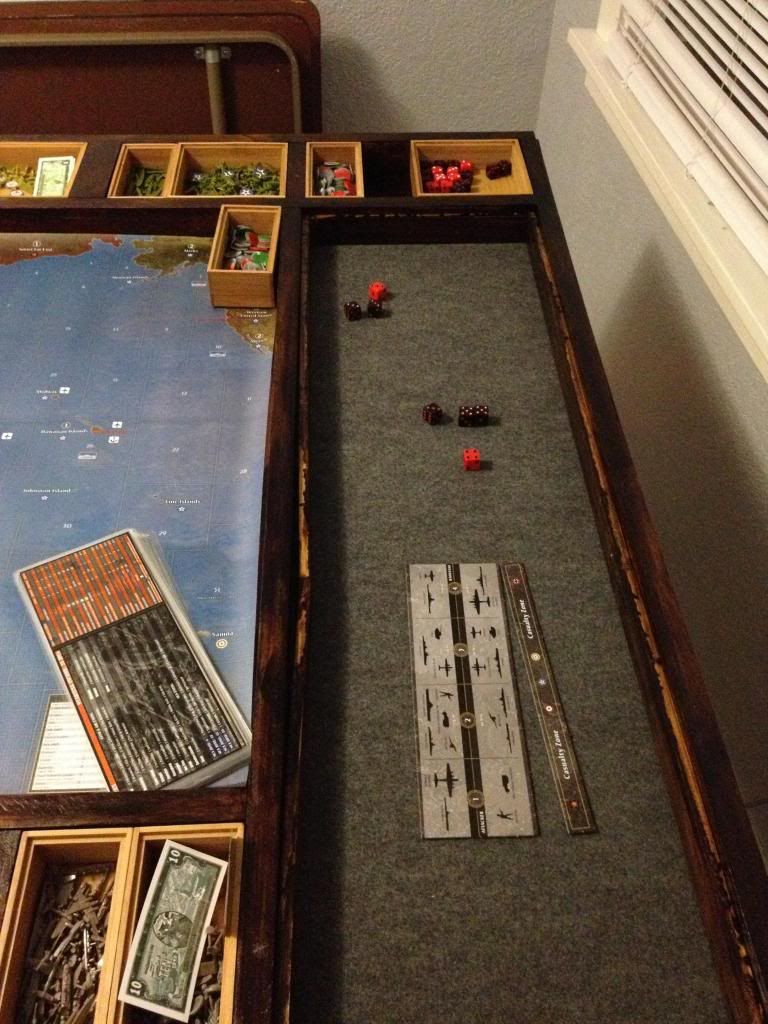
There is a little bit of staining that still needs to be done in the dice area, but for the most part it’s complete.
all-in-all this took me about a week to complete. And I’m a perfectionist. Thanks for looking!
If anyone can post a link to my pictures, that would be much appreciated!
If you email the link to me (send me a personal message addressed to CWO Marc using the My Messages function at the top of the board), I’ll be glad to post it for you.
I’ll be adding the pics to the original post when I get a chance. Stay tuned!
You know, you complain about the stain not matching with the boxes that you had purchased but, dangit, I think it looks BETTER with the lighter colored boxes inside the compartment areas! It adds contrast and looks fantastic.
Very nice job! And a very simple way to do it as well.
PS : for anyones future reference, building lumber is always 1/2" smaller on both dimensions than it is labelled (ie: 2x4 are actually 1.5x3.5 inch, etc). Long ago they used to be exactly as labeled but with milling and changes in production (and the quality/quantity of wood used) that has changed over the years to what we have now. For building purposes, not a big deal, but if you’re doing furniture, you always want to check first. In these cases, sometimes it pays to buy better-than-construction-grade woods (usually found in the trim aisles) if you need an exact size.
Thanks!
I too am starting to warm up to the different colors on the table. Makes them stand out. The best part is; they come out so that I can transport the table. Bonus!
And I probably could have used your wood knowledge 10 days ago! hahah. But that’s good info for sure.
Excellent work Aaronimpulse!
You took on a huge task and came out Aces! I’m proud of you bro, you have something that is unique and all your friends will appreciate you for it. I agree with IWNGU, the two tone brown looks perfect and your containers are great. Congrats on completing the project, I know how much work it takes, and trust me, you will get tons of entertainment out of it.
PS: You must not be married if you’re building a game table in the kitchen… LOL.
Awesome game table!
Last Jack - Thanks!
YG - I couldn’t have done it without your help, thanks a ton! But you are totally right, I am not married haha!!
Again, if anyone wants help building one, just let me know
This table is excellent. I am envious.
It is a fantastic table.
what I particularly like is the fact that the early shots are in your kitchen… leading me to believe you are either single or soon to be divorced. :-D Because I know that if I came home and dropped a 4’ x 8’ sheet of plywood in the Kitchen I’d better be building something to sleep in. Cause I’d be needing it when I was outside later that night. LOL
Great work!
Hahah yea, I definitely live alone. And if I didn’t, I would be now!
Sweet board. Got to participate in the breaking in phase, so much better than trying to play on a coffee table.
Great job on the table.
Beautiful.
I then went online and found some containers at, imagine this thecontainerstore.com that I wanted to use for holding the units etc…
Hey Aaron, great table!!!
Can I ask what the measurements were on these containers? Or better yet, a link to the exact containers you ended up purchasing?
They look great, good size and appear stackable too for when the game/table is all packed up yeah?
Cheers
Thanks Speed_Adict!
They are completely stackable, which I will completely admit, was an accident that ended up working out in my favor! I purchased the containers before building the actual table and used the containers as a guide for my measurements. I tried to get the boxes as geographically close to their corresponding countries as possible… but anyway… here you go!
http://www.containerstore.com/shop/bath/drawerOrganizers?productId=10023938&N=80937
enjoy!
Cheers ;)
Yeah that’s what I also plan on doing, building a table around the map and containers…
Going to wait though and see what layout best suits out group (i.e. Where do we usually roll the dive (left? Right?), where do we place out cards etc).
Thanks again :)
No problem,
Post the pics when you are done!
happy gaming!
You guys are right to build around the map and containers first, things like dice trays, card decks, and money stacks can all be worked in later.

