I have been playing around with different configurations for a custom table and wanted to note some things I’ve landed on that I really like. A main one thing is having the map mounted so that it can slide around as needed on top of a bigger playing area. My table is 65” x 95” in total with a 5.5” arm rest around the outside and the middle is a recessed neoprene surface. I have the OOB Global map mounted on 1/2” rigid foam with a 1/2” aluminum frame around it. This allows the map to slide up close to whoever’s turn it is, but then be in the middle so both players can roll dice In front of them without disturbing the map and in easy view of the other player. (Plus we like lots of room to roll the bones). This ability to adjust the surface along with a standing height, makes it comfortable for long uses because you can move around more and don’t feel as tied down.
Things I’ve learned and changed from original design - I originally used too big of a frame for the map and mounted it on too high of a foam block (you can see these pictures at the bottom) - it made it hard to see the other player’s dice and the big frame took up too much real estate. My global map is mounted on much thinner foam (the framing is bad, you can see if you look closely) but I also used much thinner aluminum angle for the frame. This gives just enough grip when needing to move the map around (I use furniture slides on the bottom, which glide very nicely on the neoprene) but doesn’t make the whole thing too bulky. Having it an inch or so off the surface keeps the dice off, but isn’t so heigh that you can’t see the other player’s dice rolls. When playing other versions (such as Zombies) the board is much smaller, but it can easily swap in and out on the same table since it can move around where ever it is needed or be pushed aside.
I originally made it normal table height, but found long reaches while sitting were harder and it just felt cramped. Standing height with a bar stool is a great way to have the best of both worlds.
The 5.5” rim around the table itself gives you a nice arm rest that doesn’t interfere with the gaming surface. I’m playing with how to best add some cushion to this part - open to suggestions. Sometimes I just lay a piece of leftover neoprene on it.
Dice bounce nice on the neoprene and stay off the floor. It also feels nice and has enough give to allow things to slide but be picked up easily. Wouldn’t definitely go with neoprene again as a surface covering.
I made the drawers open to the inside of the table so you can stay hunched over the action while accessing and stowing stuff away. 50/50 on whether I would keep this if I were to do it again. If I were doing it again, I might try to build customer drawers form scratch using actual drawer glides, but that was beyond my ability when I first did this, so I just used clear plexiglass boxes with aluminum pulls mounted on them. It’s nice having them clear, and I was happy with how the pulls came out, but without glides they can be a little fussy sliding in and out of their slots.
I originally designed the table so that I could put a cover surface back on top when not in use, but find I don’t really ever do that, so if I were to do it again, I might not mess with that part (I never even finished staining those as you can see in the pictures).
CF362D52-269F-4480-8CBB-08139099138F.jpeg A9E12EA1-66EB-4671-86AC-68C62FD30AD5.jpeg 858DE1F2-030A-4D5A-93E4-70A7D1180ADB.jpeg 8F513EE0-DA37-4BA9-880E-4D5EF7BF431F.jpeg F0188165-757B-4CC1-BF67-5045832283C9.jpeg 2E3CD627-0D31-4121-ACF8-682F9F58A40B.jpeg
Aircraft Range Markers - for all games
-
Those are really cool. I might just print that out on magnetic paper. They have to be magnetic for my board.
I made these fuel makers a couple years ago but none of our group used them. Maybe if they were not chips my group might use them.
Fuel Markers
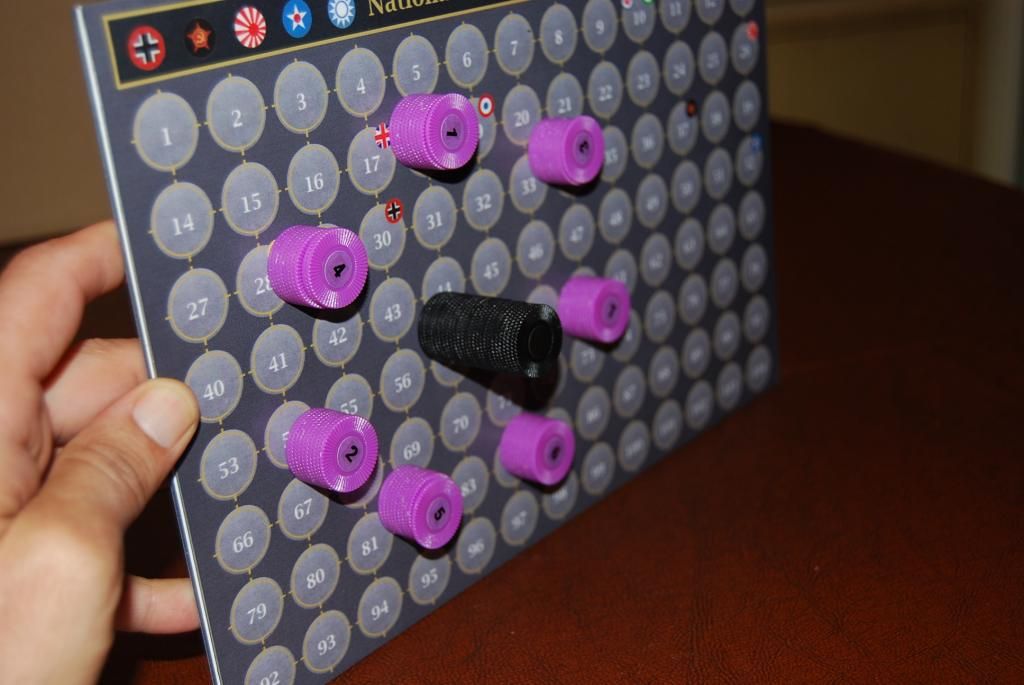
Purple (numbered 1-7) These are my new chips to mark the spaces left that a plane can fly after combat. With so many planes in global 1940 we found it useful.
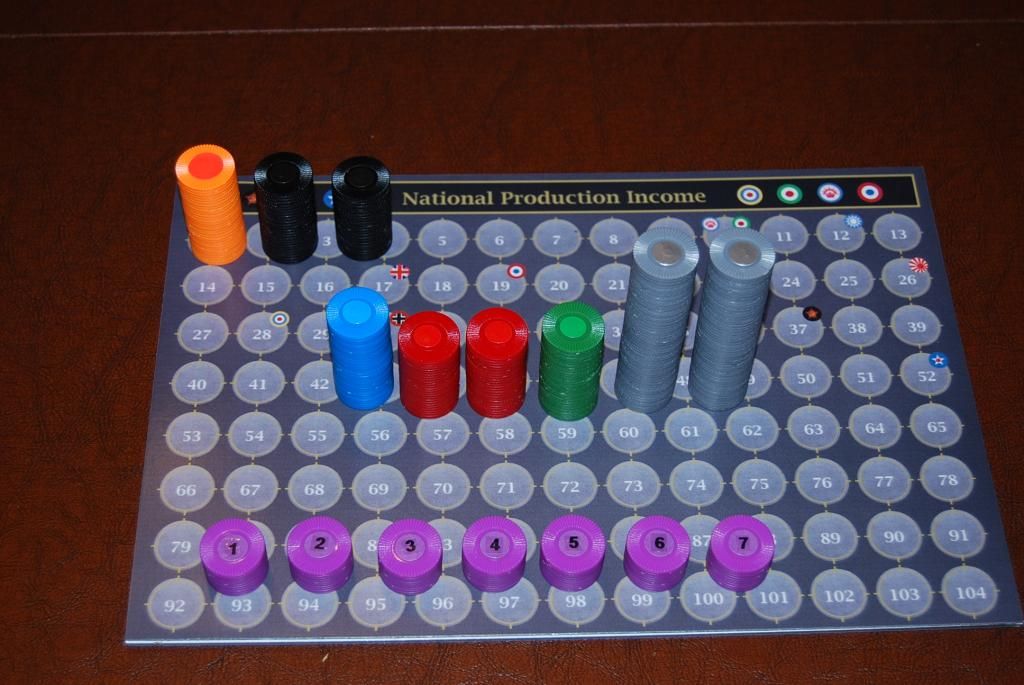
This second pic shows my IPC board which is a small replica of the main board. Here the board can be tilted perpendicular and still hold a stack of 30 chips.

-
Nice, man, all these customizers on these topics, and NONE near me, how id love to go to a buddies house and do A&A mods all gawddamn day, gowddammit!! :)
-
Going to print these tomorrow at work. Ive been using the ones from revised, but yours go higher and now i’ll have plenty!
-
I know this is an old thread but: Thanks Adam, great game enhancement.
If printed them half a year ago and laminated them. They worked great for our gaming group to keep up with the movement of our air units.
A couple of days ago I’ve tuned them a litte. I’ve resized your designs so that they will fit into a stacking chip. I’ve printed them on sticker material, cutted them and attached them to the chips. Now ontop of each stack we’re able to attach one of the markers to keep the remaining movement point in scope.
PS: I would love to add a picture but there no option for me to do this. (Attachment Option shows not up. Links & image links are not allowed) :-/
-
@Duri7:
PS: I would love to add a picture but there no option for me to do this. (Attachment Option shows not up. Links & image links are not allowed) :-/
You need approximately 10 posts before you can attach pictures, due to the forum’s anti-spam software.
-
@CWO:
@Duri7:
PS: I would love to add a picture but there no option for me to do this. (Attachment Option shows not up. Links & image links are not allowed) :-/
You need approximately 10 posts before you can attach pictures, due to the forum’s anti-spam software.
Thanks for the clarification! So I’m looking forward to join more discussions (insted of just reading them :roll:) to gain the needed number of postings.


