


I just wanted to say that I printed out a very large map size at 2440mm x 1118mm ( roughly 8 foot x 4 foot) on a digital printed transparency with a matt laminate and it has turned out fantastic. The quality was amazing. I searched everywhere to see if it could upscale and could not find the answers. Hopefully this will help someone who is thinking of doing the same.
I have built a custom table with magnets sunken into the table to hold the map in place. I wanted to use the table to play other games so the map had to roll up.
I also wanted to use the table for Global War 1936 and the magnets work well
[AA50/Anniversary] "G40 Lite" Setup with France, ANZAC, Canada, Aligned Neutrals, and Map Modernizations
-
@FranceNeedsMorePower said :
@vodot Is this the board state setup or no?
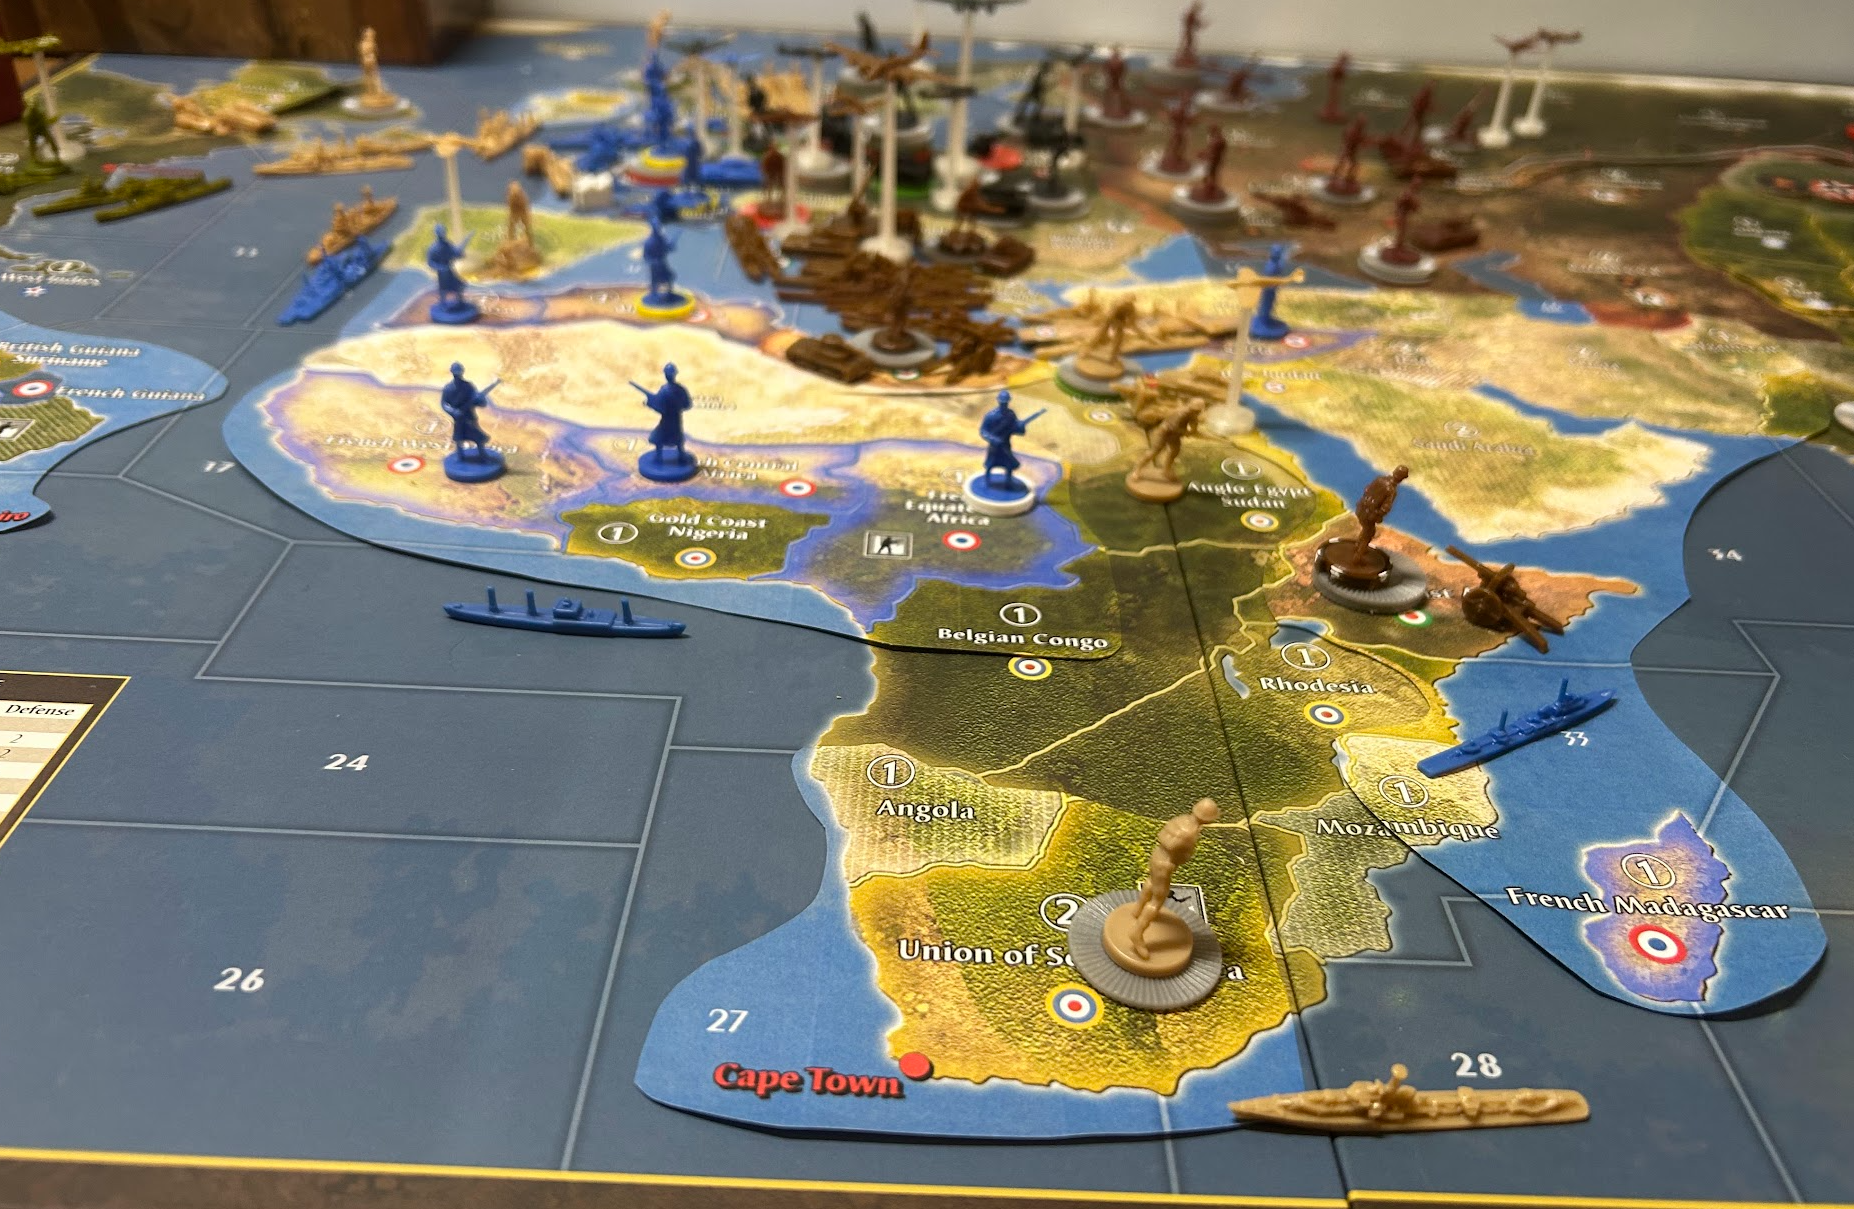
This was close to the endstate for our first playtest. This is the end of I6, Allies conceded after J7.
@TitusJames said :
@vodot Thats awesome! I plan to print out a number of your changes for my copy of the game. Do How do you scale all of your printouts?
Almost all of them should be able to be printed exactly as posted to the forums here - at 400 DPI (dots per inch). This would match the original game board as shown above. If your map is larger than the OOB board, you would have to scale the printouts yourself to match. The OOB board is 24 x 46in, so your printouts should be scaled by whatever the ratio is of the dimensions of your map to those of the original board.
For example, I printed Tjoek’s AA50 map files out at 300DPI, producing final printed dimensions of 32in x 61.33in. That’s a ratio of 4:3 compared to the OOB board, so if you were trying to match my overlays to that printout you would need to scale your prints up by that same ratio (4/3 or 1.33x ). In this case, that would mean printing the overlays at 300 DPI (fewer dots per inch = more “inches per dot”), rather than their native 400 DPI.
-
@FranceNeedsMorePower
Here’s what we started with. I tried to meld in the G40.2 setup, combining and splunching unit groups where needed: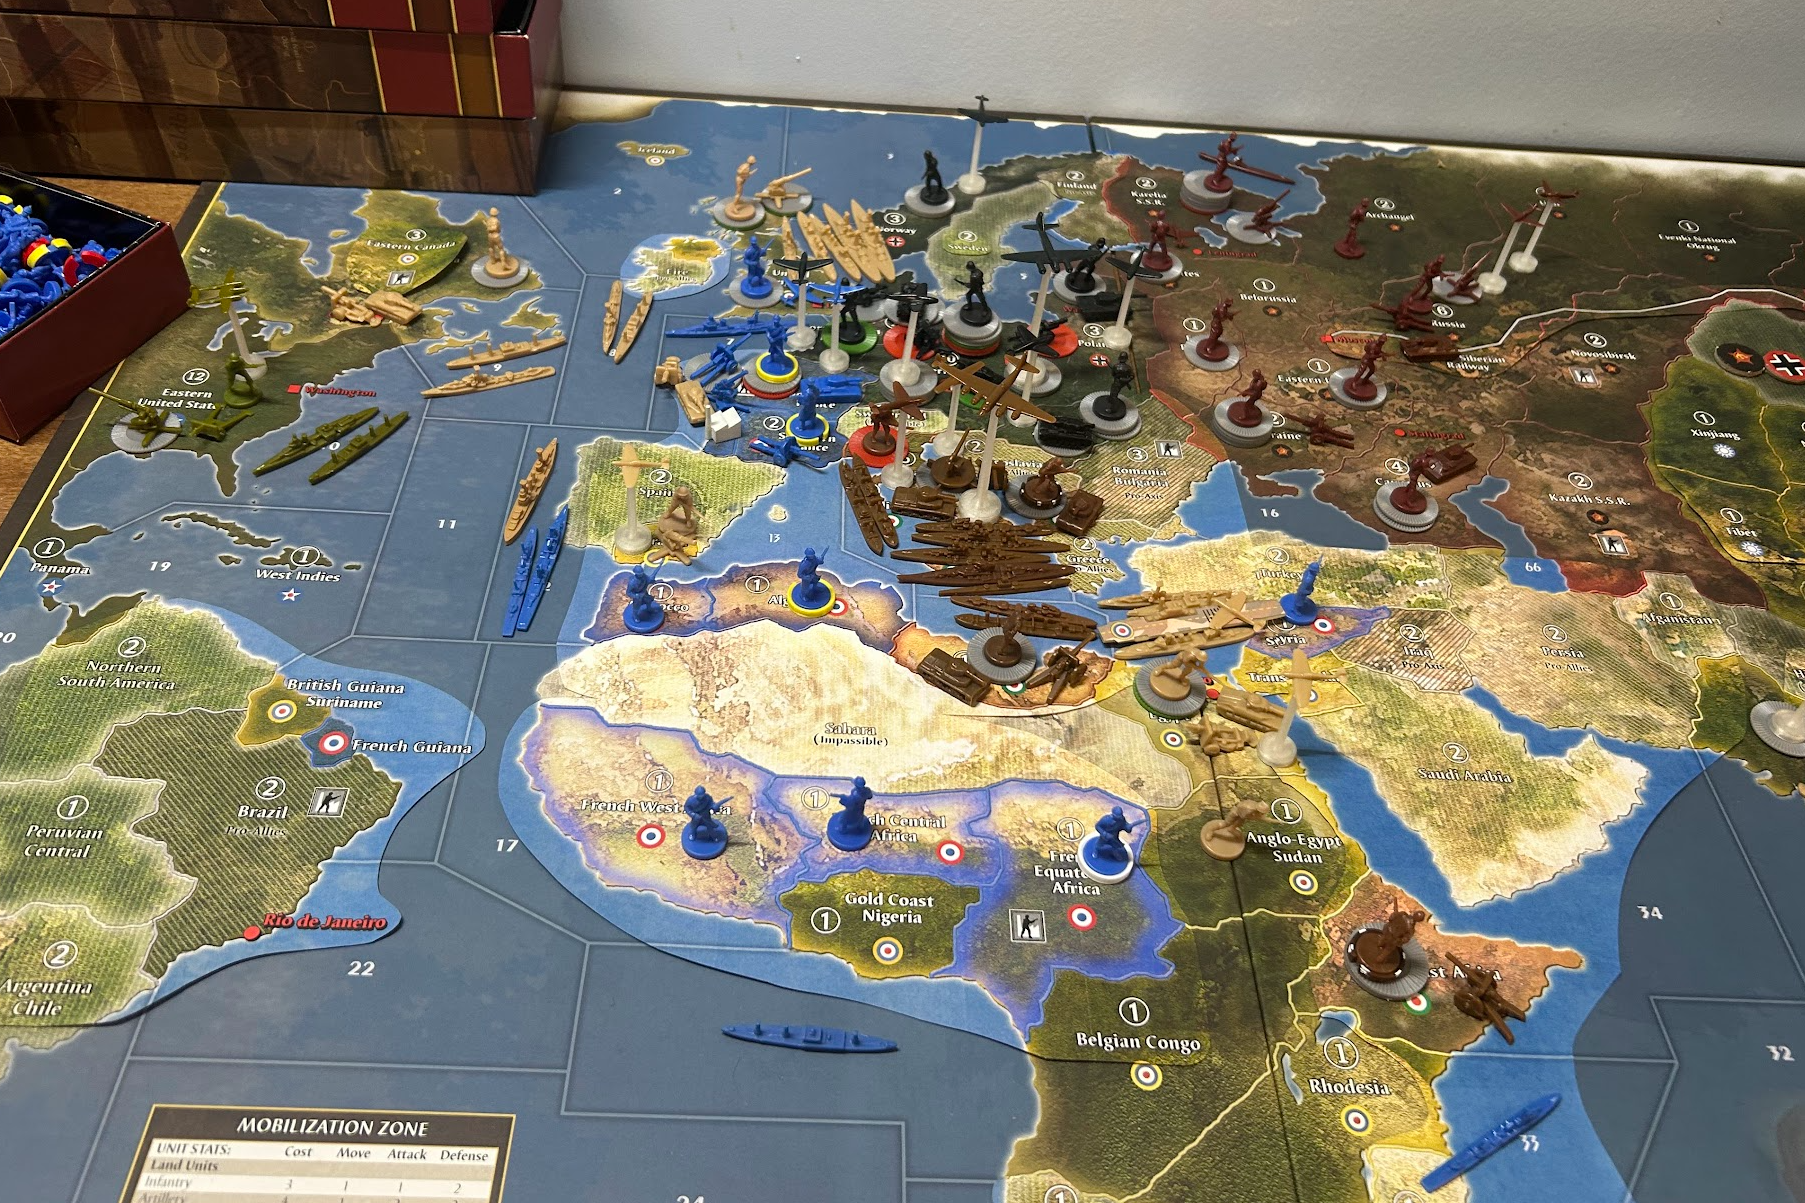


-
@vodot Nice!
-
-
@FranceNeedsMorePower I haven’t put this on triplea, but @Argothair has created a similar 1941/2 map based off of my overlays, find that here: https://www.axisandallies.org/forums/post/1771557.
-
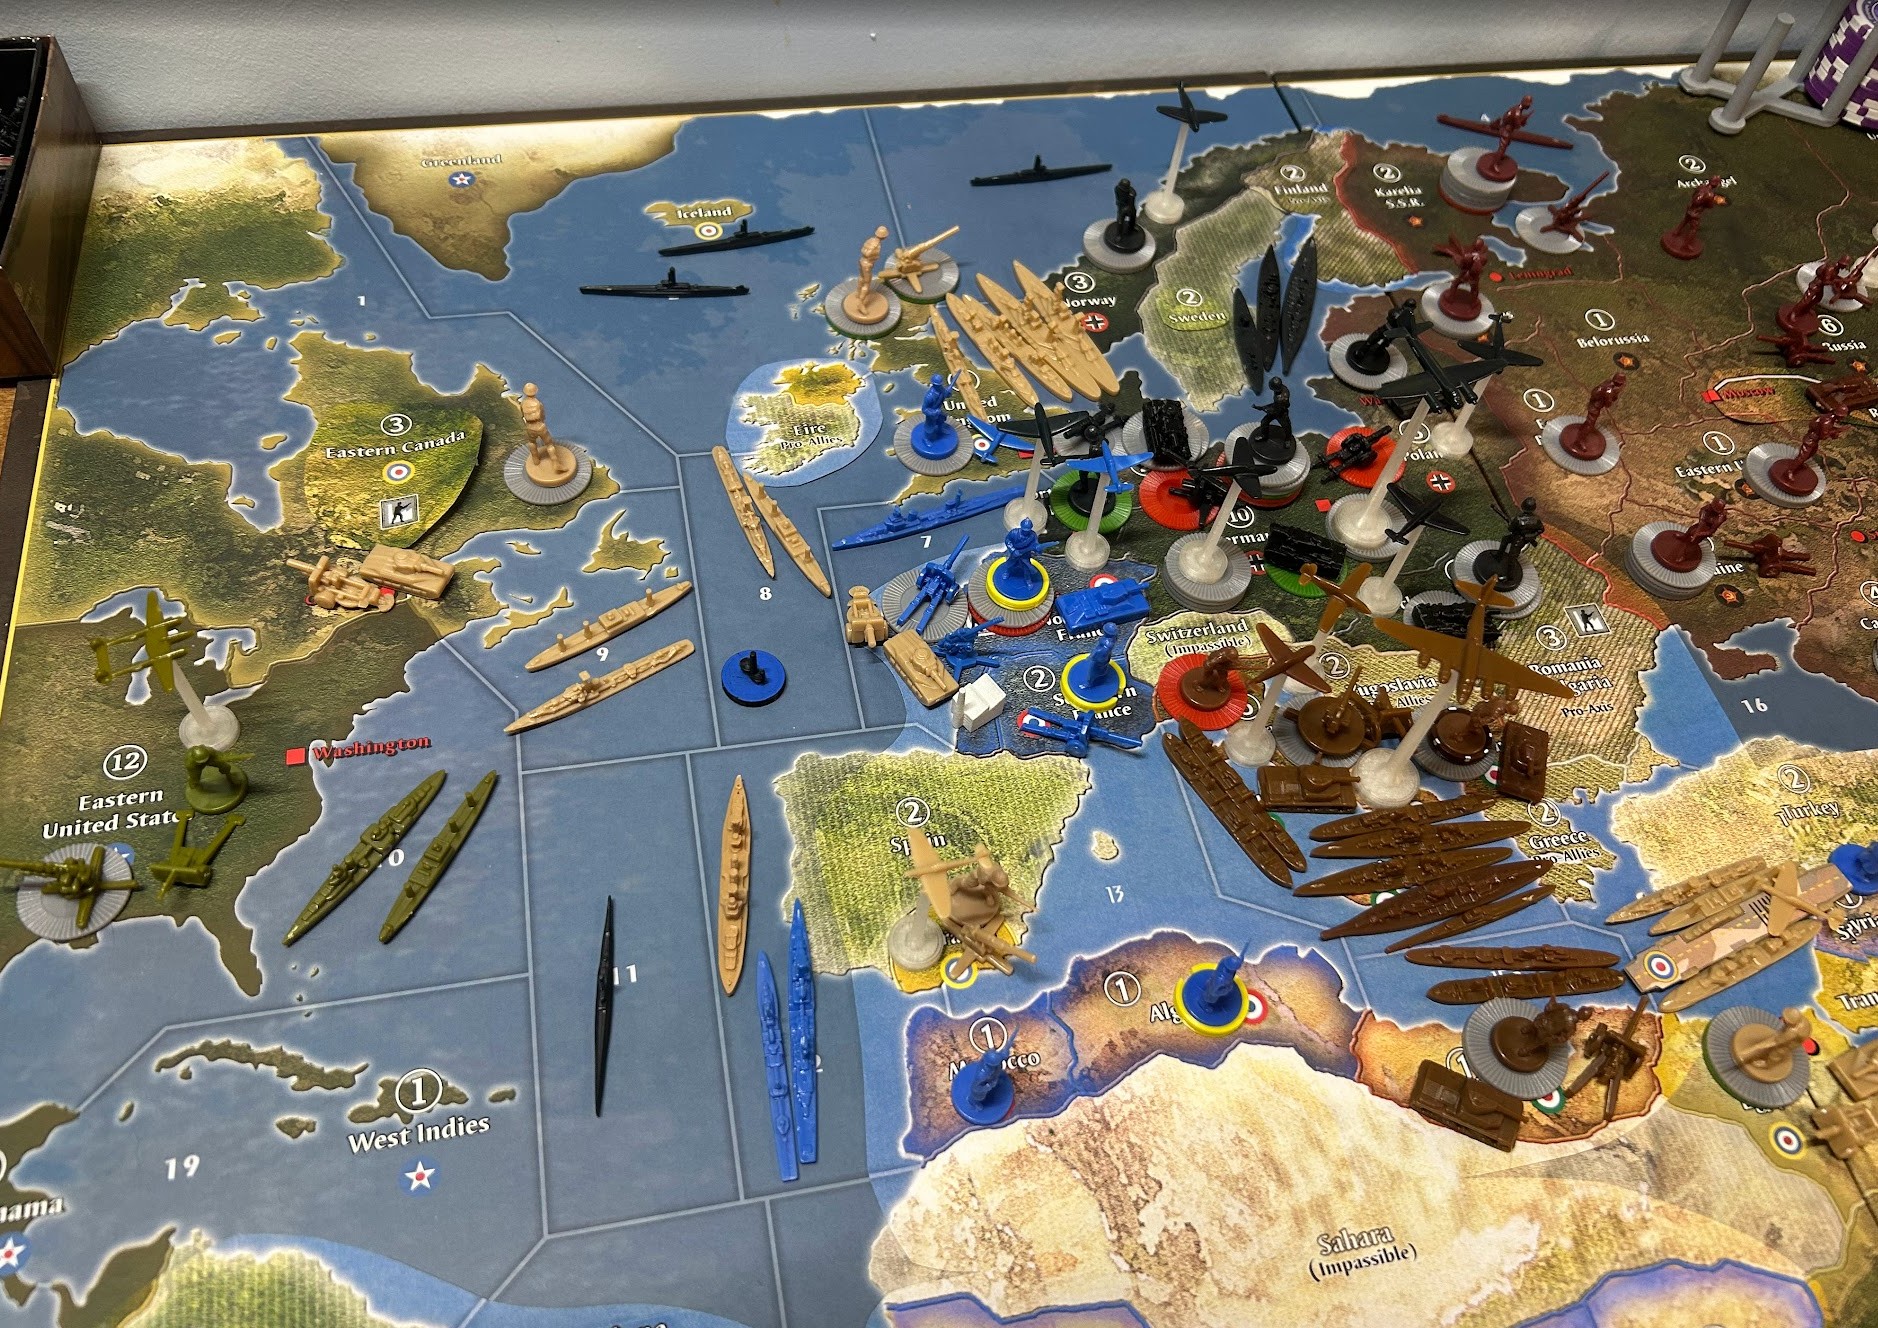
previous pics were missing the German naval setup, this one should be better (yes, that’s a sub in SZ 8):
-
@vodot Looks nice!
-
Communist China!

Have fun coming up with rules for this one, it’s a brain burner. Best I can do off the top of my head: One simple version, one muuuuch crazier version:
Simple Version:
8.0 Communist China:
8.1 Communist China (CC) is a controlled Pro-Allied Minor power, moving with and controlled by the Soviet Union.
8.2 At the end of the Soviet Union’s turn, place 1 additional CC infantry in one CC Territory, up to a maximum of 3. If no CC Territory exists with less than three Infantry, place one Artillery unit in any CC Territory instead, again up to a maximum of three.Crazy Version:
8.0 Communist China & the Comintern Alliance:
8.1 If Communist China (CC) is included in the game, then the Soviet Union and CC become a third, separate Alliance called “The Comintern”:- 8.1.1 The Comintern no longer wins and loses with the Allies.
- 8.1.2 Comintern units may no longer share territories or Sea Zones with Allied powers, and vice-versa.
- 8.1.3 Combat between the Comintern and the Allies (and the Axis) is possible.
- 8.1.4 Whenever the Comintern attacks a Neutral Territory, there is no ‘re-alignment’ roll for other Neutrals.
- 8.1.5 The Comintern wins the game if a round ends with the Soviet Union and/or CC in control of 6 or more victory cities, including every USSR home Victory city.
8.2 Communist China (CC) is a Minor Comintern Power controlled by and moving with the Soviet Union.
8.3 All Comintern-controlled Territories in China become CC-controlled.
8.3 At the end of each Soviet turn, CC places one infantry plus one additional infantry for every two original Chinese territories they control, rounding down. Place the infantry units in any CC Territory.
8.4 If any CC territory borders a Soviet-controlled TT, the CC may place one of the above infantry units as an artillery unit instead, placing it in any CC territory connected in an unbroken chain of Comintern territories to that Soviet territory.
8.5 If there are no communist forces remaining on the board at the end of the Soviet turn, place no CC reinforcements. Instead select an original Chinese territory adjacent to a Soviet territory, and roll a d6. On a 3 or less, Place one CC infantry and one CC artillery in that territory; combat will ensue here as applicable in later turns.Roundels (print @ 4x6in):

-
@vodot Love the roundels!
-
v10: G40 Lite including France, aligned Neutrals, Canada, ANZAC, Communist China, and all the recent additions up to 11/18/2025
https://drive.google.com/file/d/1mBgt6KSM7oIE3uNmuESPSU2F1AhicYMG/view?usp=sharing

Suggested Topics

