


Im not talking about a digital Map, but a real one. I consider myself very artistically minded so I think I could do it without it looking too bad. What materials would I need, how much time would it take? I wanna do a global map from about 1920.
A taste test of my custom map…
-
Greetings from Michigan!
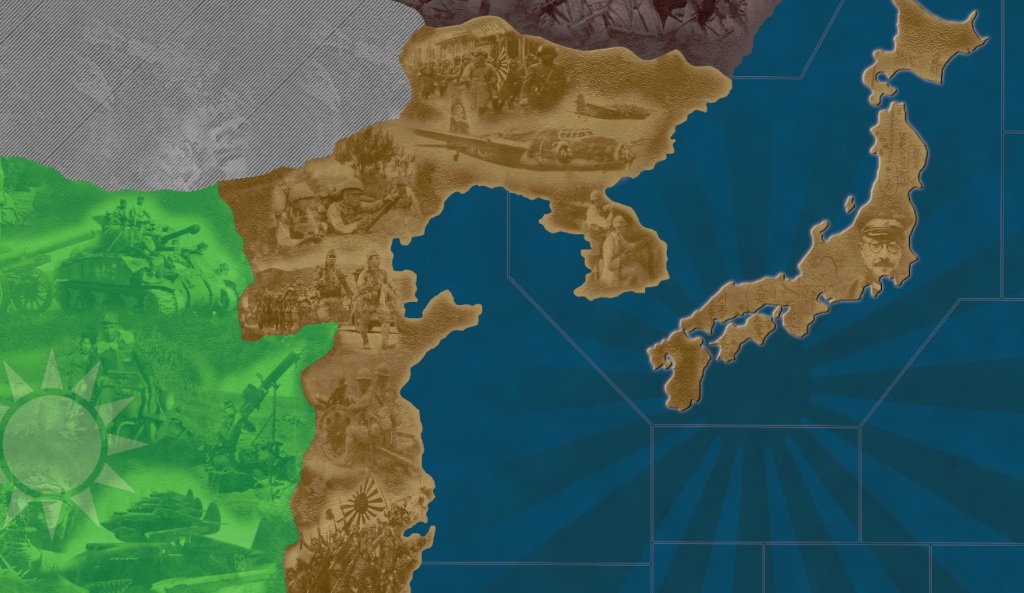
Attached are a couple snapshots of my map project. There is still a lot of work to do and it is a work in progress, but I like the way it is coming along. I’m open to criticisms, suggestions, etc… I’ll be sure to share the entire map file when it is finally completed so that others can use it too if they want. I used the original scanned map file that is available on this site for download as a base for the project. So a special thank you to those that were a part of that.
The entire map was “disassembled” province by province and reassembled. All of the imperfections of the original scan have been eliminated. Colors “pop” now where they need to. The ocean and seas have been re-done with some subtle texturing added (hard to see in the images). Many of the province shapes on the map have been corrected (to be revealed when the project is completed), especially the island provinces. I’ll provide a complete list of corrections/changes soon. It still looks a bit “flat”, but as the details and texturing get added, it will improve that. Much work still to be done - province names, borders, sea zones, details, etc. etc…
Regards,
D

-
One more image.
Regards,
D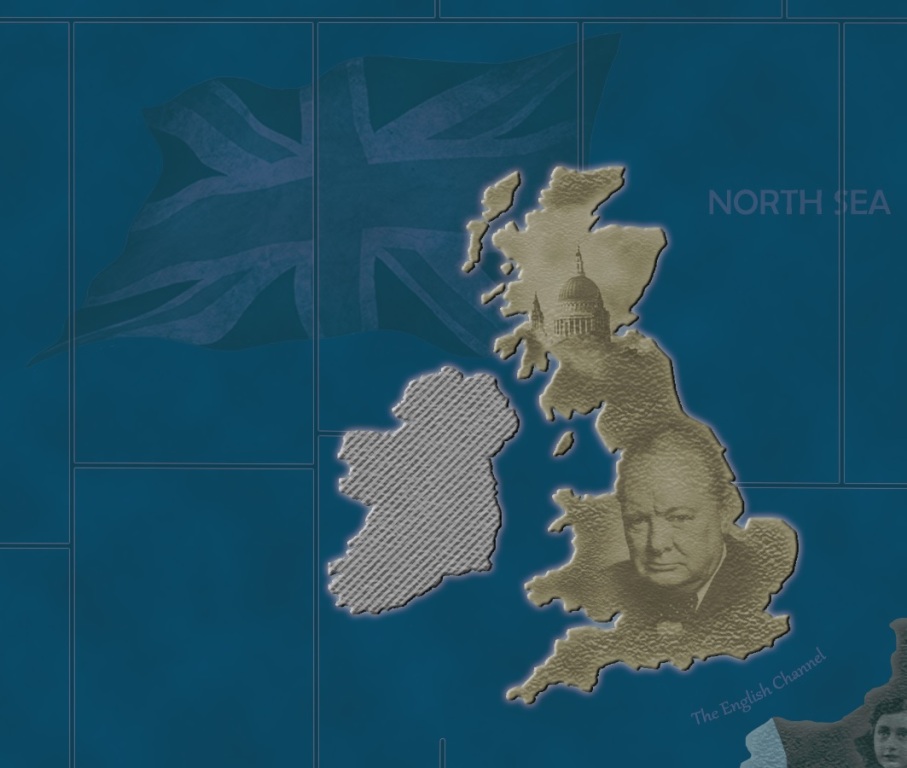
-
Ooooooooo pretty
-
Very cool idea!
-
I love the pics of leaders on map. Sweet !
-
Nice!
-
Update:
Pacific Islands are done.
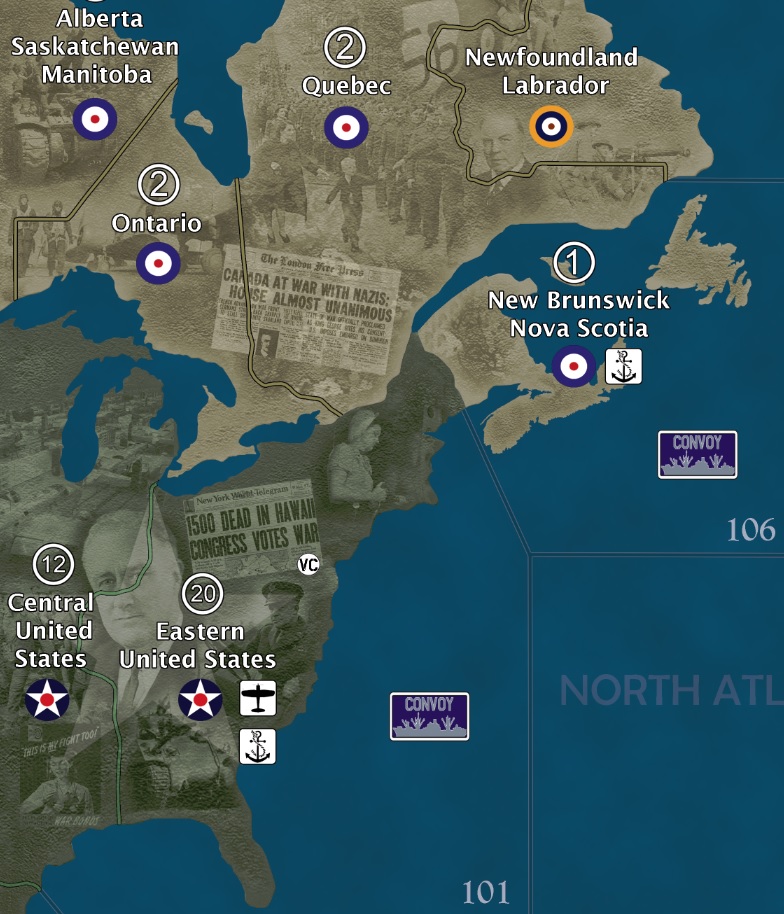
North America still a work in progress.Cheers,
D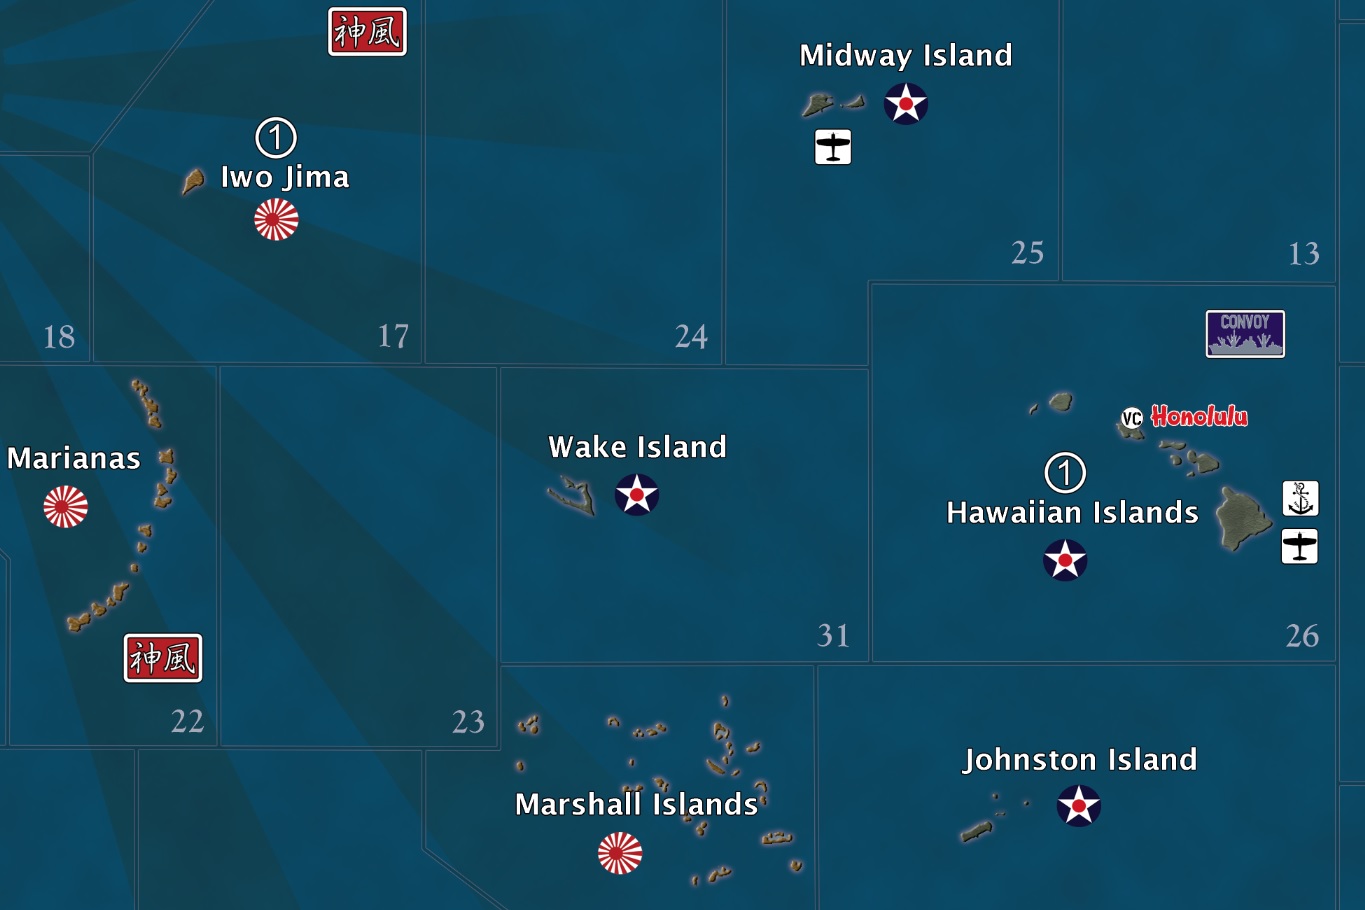
-
Just noticed I forgot the airbase for Wake. Oops. :roll:
-
Awesome idea!!!
-
Very, Very, Cool… thanks for sharing.
-
Brilliant idea! Looking forward to see the end result.
-
Greetings from Mid-Michigan, USA.
I’ve managed to “fix” the Alaskan-YT-BC border along with making the Aleutian Islands look a bit better. I realize that this is just a board game, but that OOB border for Alaska was bugging me too much. I just had to fix it. It’s not completely accurate but I think it looks much better than the OOB rendition.
Since my last post, I decided to give each Capital City a unique identifying icon. For London, its Big Ben of course. All of the capital city icons will be of the same art style so it will be consistent. Victory Cities that are not capitals will all have just a simple “VC” icon. All victory cities including capitals will be written in a unique font consistent with that particular nation/city’s traditional style. All airbase icons will have a unique aircraft silhouette. For example, UK airbases will have a Spitfire silhouette. Some players will take notice of that, and some won’t, and then others won’t even care. But it was easy enough to do so I went ahead and did it.
Also, as you can see from the images, I edited the border between Scotland and UK to give a more “accurate” border (plus the original border was crossing Winston’s forehead and I didn’t like that!). That required me to adjust the sea zone borders.
Cheers,
D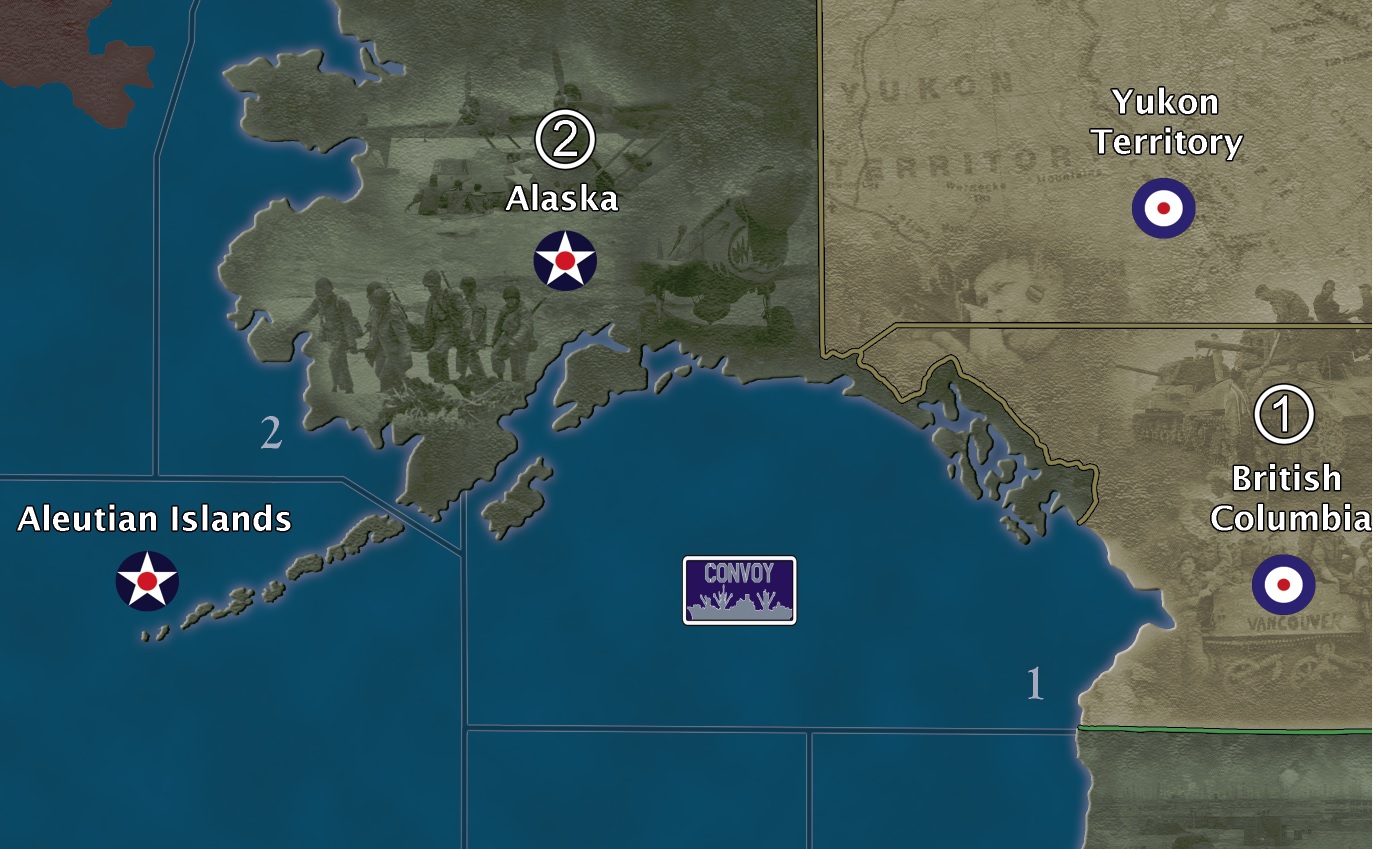

-
Greetings,
Did you ever finish your map?
If so, can you share with community?
I am in process of selecting a map to print, and yours embodies much of what I am looking for in a map.
Suggested Topics

